Friendship bracelet guides
Six guides take you from the first string to the last knot: making a bracelet, reading a pattern, starting, tying on, alpha patterns and embroidery floss. The four knots have their own pages.
All guides
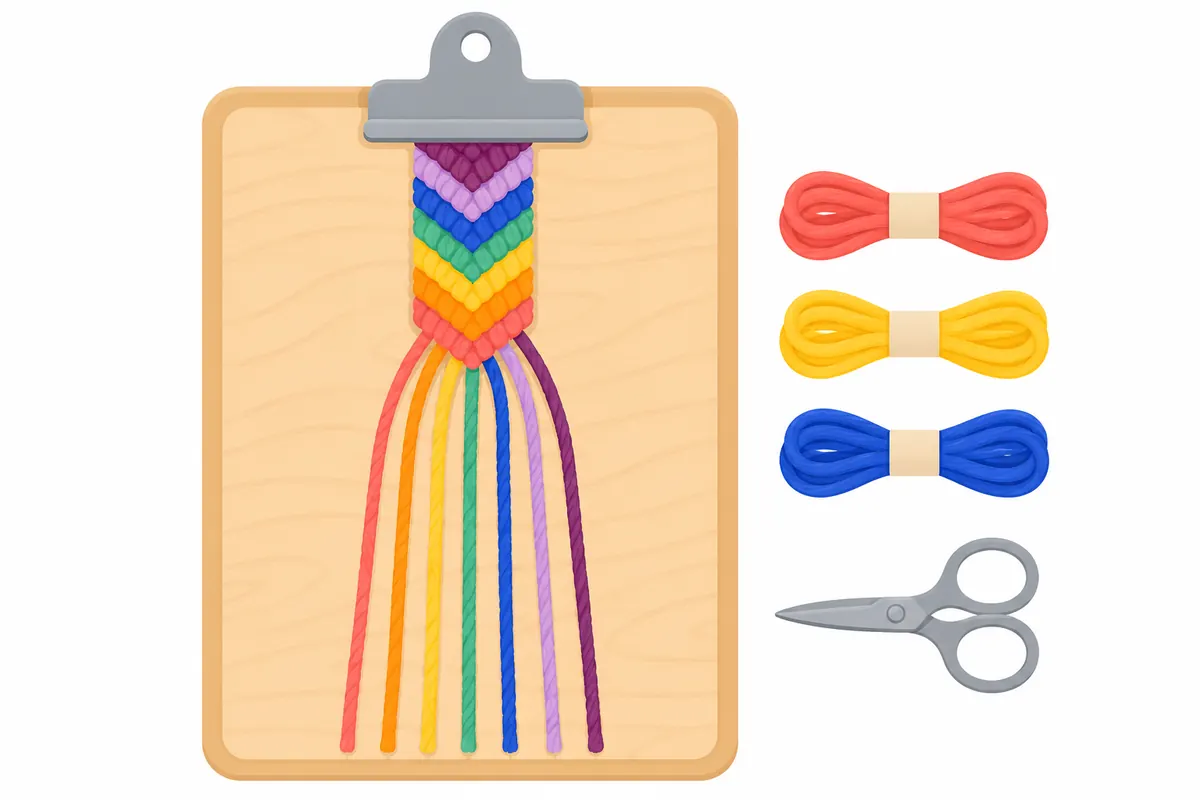 Make a Friendship Bracelet With a Normal PatternChoose a simple normal pattern, cut embroidery floss to about the right length, tie each row, then finish the bracelet with braided ends.
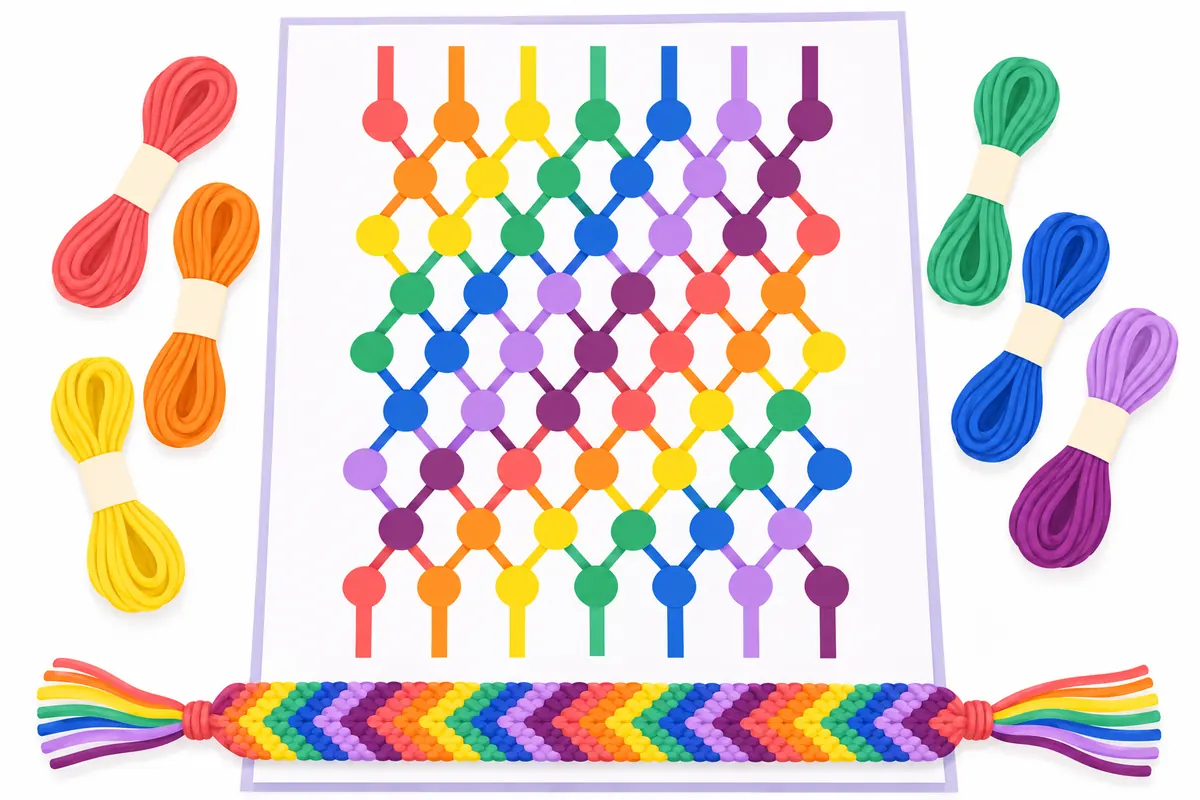 How to Read Friendship Bracelet PatternsRead a normal pattern by following its colored knots and arrows, or read an alpha pattern row by row across the base strings.
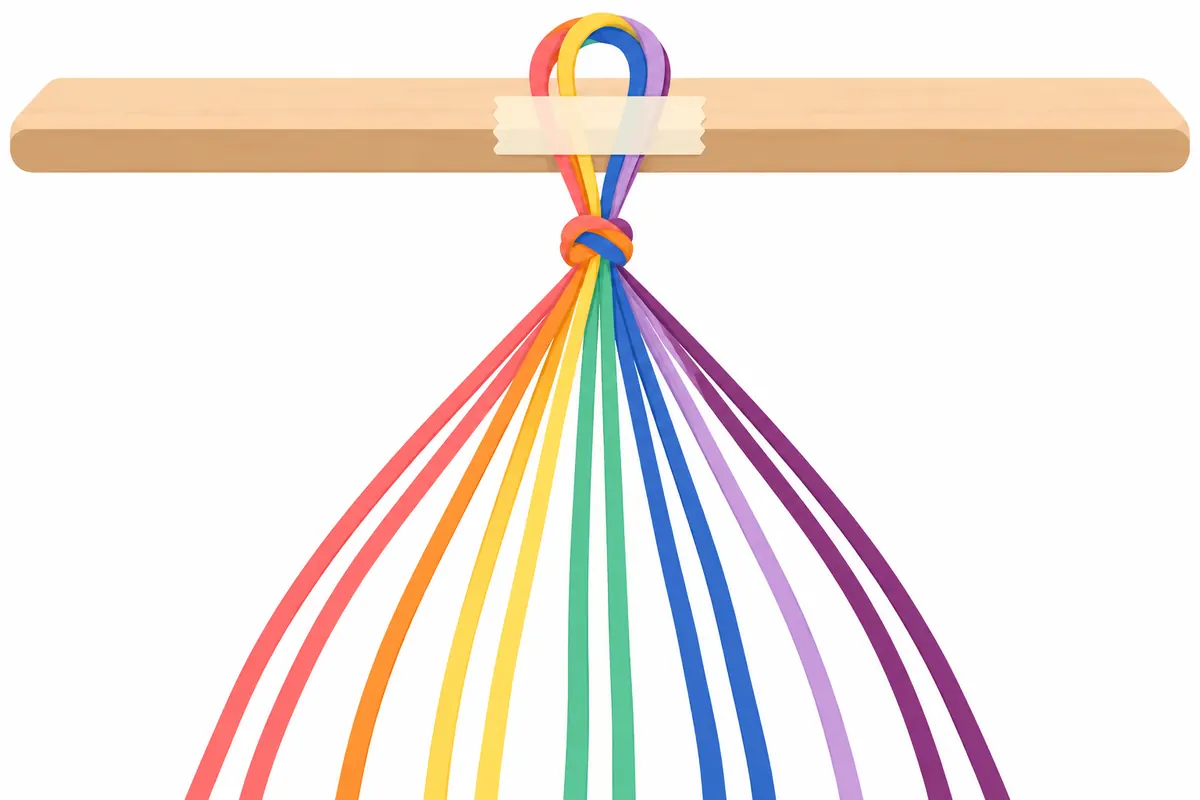 How to Start a Friendship BraceletStart a friendship bracelet with an overhand knot or loop, then secure the strings and arrange them in pattern order before knotting.
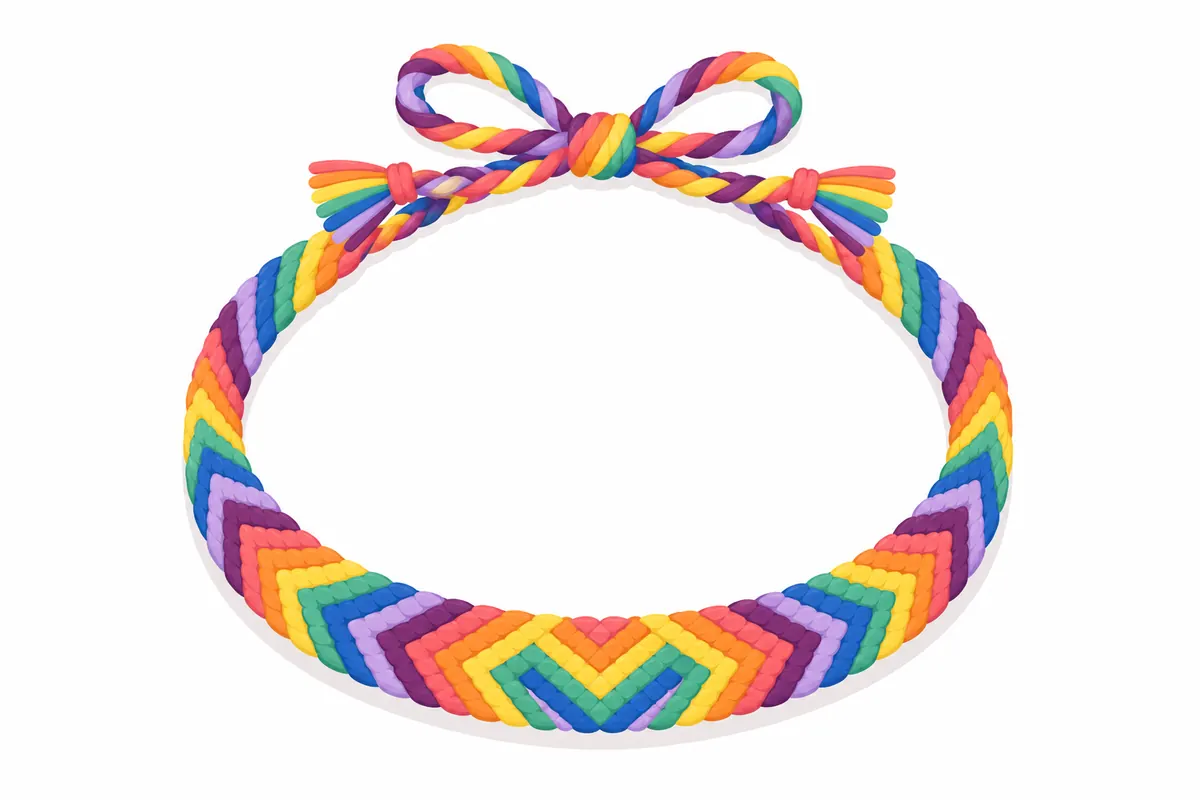 Finish a Friendship Bracelet and Tie It OnFinish your friendship bracelet with braided ends, a loop and knot, or an adjustable sliding knot, then tie it on securely and trim the strings.
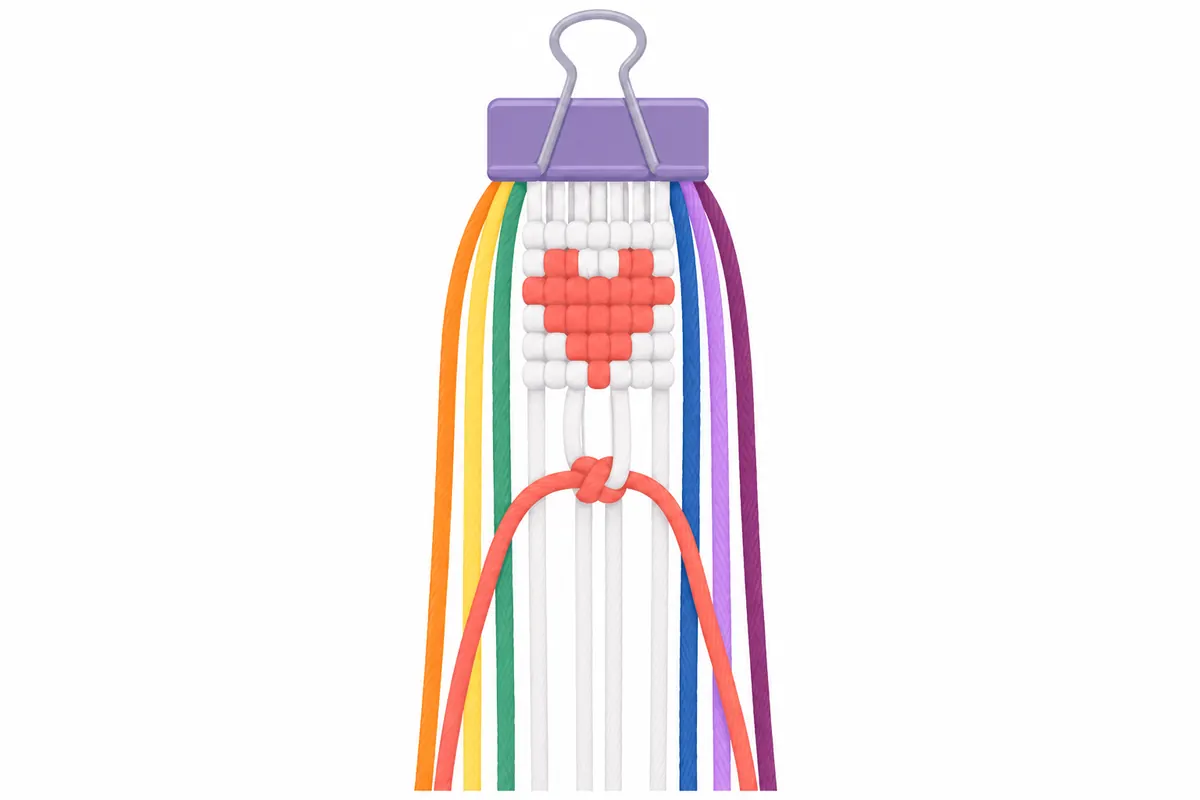 How to Make an Alpha Friendship BraceletMake an alpha pattern by knotting each chart square around a base string, changing knotting strings to form the picture or letters.
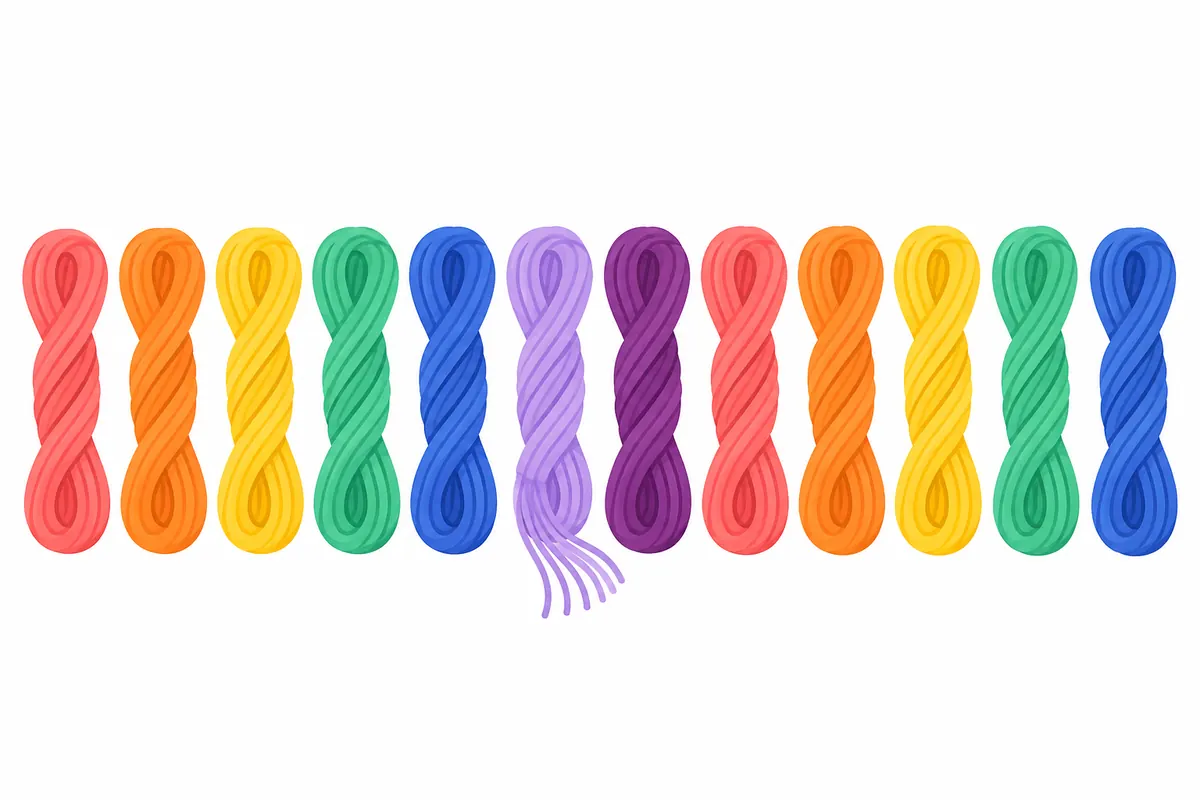 Choose Embroidery Floss for Friendship BraceletsChoose six-strand cotton embroidery floss, estimate how much each string needs, and pick colours that make your friendship bracelet pattern easy to read.
Where to start
New to bracelets? Read how to make a friendship bracelet first: it walks through choosing a pattern, cutting the strings, tying the start, knotting the rows in order and finishing. Then learn to read a pattern, because every chart on this site is read the same way.
Before you cut anything, the guides on starting and on tying on explain the two ends of a bracelet: the loop or knot you begin with and the braid or sliding knot you finish with. Embroidery floss has its own guide, with how much a project needs and which colours make a pattern show.
Name bracelets use alpha patterns, a grid of squares with one base string for every column. The alpha guide covers the strings, the first rows and how to change colour. Each of the four knots, forward, backward, forward-backward and backward-forward, has a page with step drawings.
The four knots
One page for each knot, with step drawings and the patterns that use it.