Make a Friendship Bracelet With a Normal Pattern
To make a friendship bracelet with a normal pattern, choose a design, cut and arrange the strings, then tie each row in order. A candy stripe is a good first pattern because it uses four strings and forward knots. Keep the strings held in place as you work, and stop when the knotted length fits your wrist with room to tie the ends.
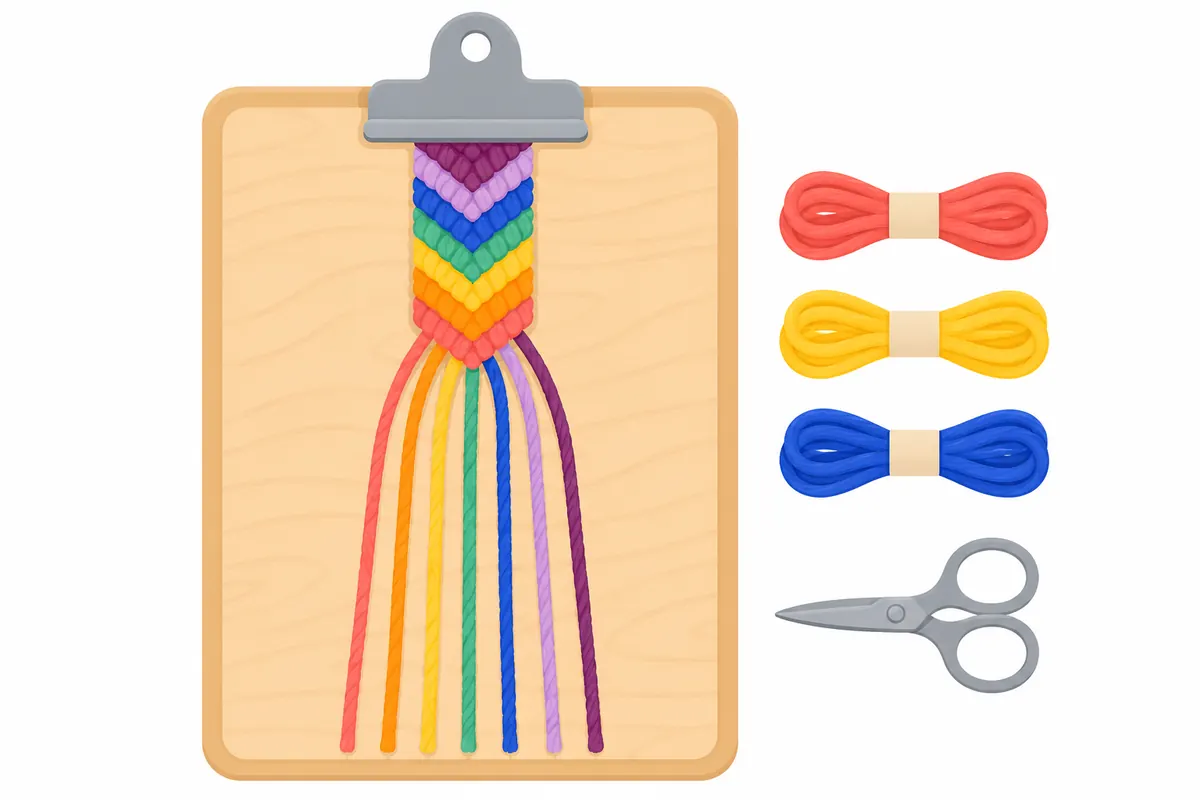
Choose your pattern and supplies
Gather embroidery floss (six-strand) in two to four colours, scissors, something to hold the start in place, and a pattern. You can use tape on a table, a clipboard, or a safety pin attached to a secure surface. Choose colours that are easy to tell apart while you work.
For your first bracelet, a candy stripe is a simple choice. It uses four strings and only forward knots. A chevron is another common normal pattern, but it uses more strings and includes knots that travel in different directions. Pick a pattern you can follow row by row, and check its string order before cutting.
A normal pattern grows as you tie rows across the strings. The pattern shows which strings to knot and which knot to make. Follow its order rather than guessing from the colours; strings can shift as the bracelet grows.
Cut the strings to length
Decide how long you want the knotted length to be. This is the patterned part, before the braided ends. For a rough estimate, each knot uses about 1.5 cm of the string that ties it. A normal pattern grows about 0.2 cm per row. Add 10 cm at each end for the start and ties, then about 15% extra for working room.
For a candy stripe with four strings and a 16 cm knotted part, cut each string to about 90 cm. For a classic chevron with eight strings and a 16 cm knotted part, cut each string to about 95 cm. These are estimates; your knot tension and finishing ends affect how much string you use.
If you are using a skein, one skein of embroidery floss (six-strand) holds 8 m. Separate the strands only if the pattern or your preferred thickness calls for it. Keep the cut strings together and check their ends before tying the start, so none is shorter than the others.
Tie and arrange the start
Bring the string ends together and tie a loop or an overhand knot near the ends. Leave enough loose string for the ties at the end. Attach the start to your table with tape, clip it to a clipboard, or secure it with a safety pin. The strings should stay put while you knot, but you should still be able to pull each one smoothly.
Lay the strings out in the order shown by the pattern. As they hang from the start, call them A, B, C, and so on from left to right. Check the order again before you begin: changing it changes the pattern. Keep the strings separated so you can pick up the right pair for each knot.
Knot the rows in order
Work from the first row of the pattern. Each knot is made from two half knots around the string that the pattern indicates. Pull the knot snug so it sits beside the previous one, but do not yank the strings tight; uneven tension can make the bracelet twist or curve. After each knot, return the strings to their new order and check the next instruction.
In a candy stripe, you use forward knots across the row. The string that makes each knot moves along the row, creating a diagonal stripe. Other normal patterns may use a backward knot, forward-backward knot, or backward-forward knot. Match the knot type and the pair of strings shown in the pattern each time.
Continue row by row, keeping the start attached and the unused strings untangled. If a knot looks wrong, pause and check the pattern before adding more. Undoing one knot carefully is easier than trying to correct several rows later.
Finish the bracelet and tie it on
Stop when the knotted length is the size you want. Compare it with your wrist, leaving room for the starting loop or knot and the ties. Braid the loose strings at each end, then tie the bracelet on with the loop or ends you made. Ask someone to help if tying it around your wrist is difficult.
For another pattern-length estimate, an alpha pattern grows about 0.25 cm per row. Its string setup is different: an alpha name bracelet seven strings wide with a 16 cm knotted length uses seven base strings of about 45 cm, while the knotting strings add up to several metres and are tied in pieces of about 150 cm. For a first bracelet, a normal pattern has a simpler string setup.
Questions
What is the easiest friendship bracelet pattern for a beginner?
A candy stripe is a common first pattern. It uses four strings and only forward knots, so you can focus on keeping the strings in order and making each knot evenly.
How long should I cut friendship bracelet strings?
It depends on the pattern, its knotted length, and how tightly you knot. For a candy stripe with four strings and a 16 cm knotted part, cut each string to about 90 cm. Treat that as an estimate, not an exact requirement.
How do you make a knot in a friendship bracelet?
Each knot has two half knots. Use the pair of strings and knot type shown in the pattern, pull the knot snug beside the row, then put the strings back in their new order before continuing.
How do you finish a friendship bracelet?
Stop at the knotted length you want, then braid the loose strings at both ends. Tie the bracelet around your wrist using the loop or the loose ends, with enough room for a comfortable fit.