Finish a Friendship Bracelet and Tie It On
To finish a friendship bracelet, secure the loose strings with braids, a loop and knot, or an adjustable sliding knot. Choose the method that matches how you started the bracelet. Keep the bracelet on a table while you work, and ask a friend to help tie it around your wrist if you are using fixed ends.
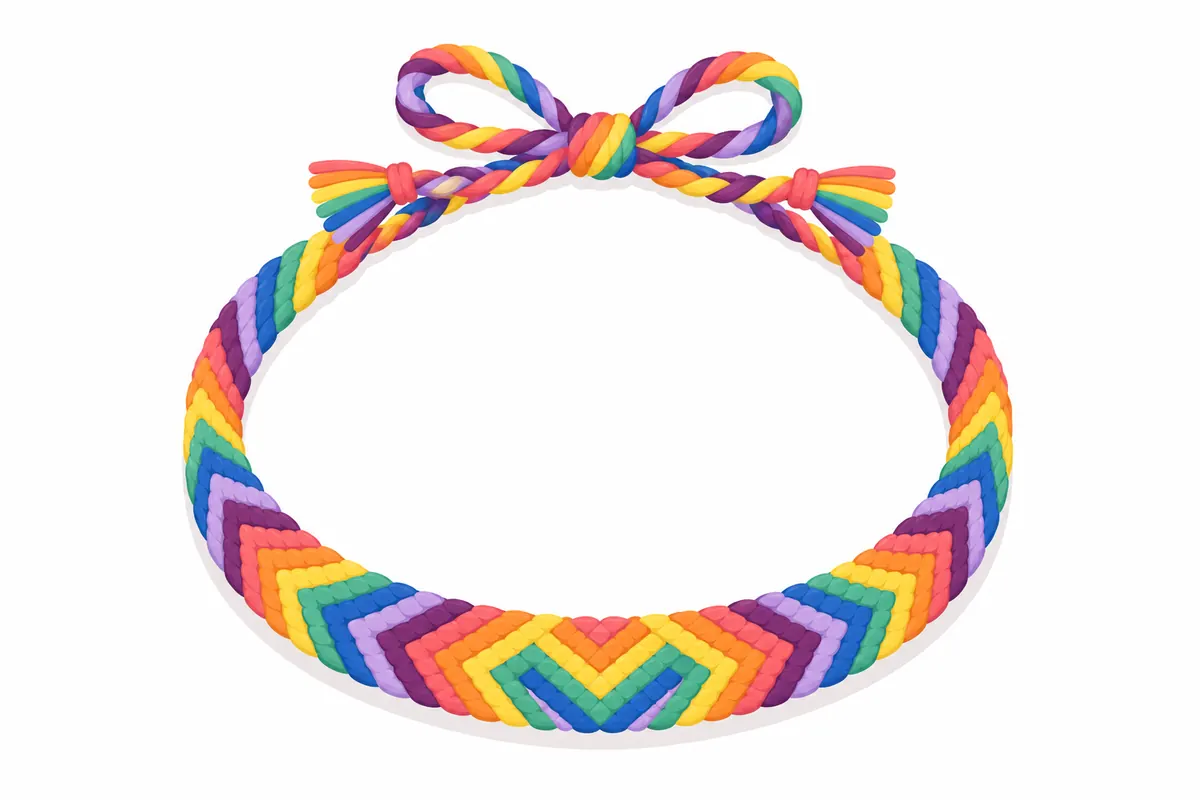
Choose an ending that fits your bracelet
Check the two ends before you cut anything. If both ends have loose strings, you can braid them and tie them together around your wrist. If one end already has a loop, you can pass the knotted end through it. For an adjustable fit, use a sliding knot made with a separate piece of embroidery floss (six-strand).
Keep the bracelet flat and untwisted as you finish it. If it is hard to hold, tape one end to the table. Leave enough loose string to make the ending you chose; trimming too close before tying can make the bracelet difficult to secure.
Braid and knot the loose strings
At each end, separate the loose strings into three groups. Braid the groups for 5-8 cm, keeping the braid snug and even. Do not pull so hard that the bracelet puckers or the strings stretch.
Tie an overhand knot at the end of each braid. Pull it snug so the braid cannot unravel, then check that both braids are long enough to meet around your wrist. If you started with a loop, you can instead push the knotted end through the loop and tie it in place.
To tie two braided ends together, cross the right braid over the left and pull it through. Then cross the left braid over the right and pull it through. This square knot holds the bracelet closed. Keep it firm, but leave enough room for comfort. A friend can hold the ends while you tie the bracelet on your wrist; or tape one braid to the table and tie the other around your wrist.
Make an adjustable sliding knot
Lay the two bracelet ends side by side, pointing in opposite directions. Cut a separate piece of embroidery floss (six-strand) to use as the knotting string. Center it under the two ends and keep the ends parallel so they can slide through the closure.
Tie a few square knots around both bracelet ends with the separate piece. For each square knot, cross the right side over the left and pull it through, then cross the left side over the right and pull it through. Tighten each knot around the ends without trapping them. Check that you can pull the bracelet ends to make the opening smaller and slide them back to make it larger.
When the closure moves smoothly, tie off the separate piece and check that its knots stay secure. Trim the extra string, leaving a few millimetres beyond each knot. Pull the bracelet ends gently to confirm they still slide before putting it on.
Trim and check the finished bracelet
After tying, adjust the bracelet so it rests comfortably on your wrist. For fixed braided ends, ask a friend to help with the square knot, or secure one end with tape while you tie. Avoid pulling the knot so tightly that it hurts or leaves no room to move your wrist.
Trim the loose ends, but leave a few millimetres beyond each knot so it is less likely to come undone. Check every knot with a gentle pull. If a braid loosens, retie its overhand knot before trimming closer.
Questions
How do you tie a friendship bracelet on your wrist by yourself?
Tape one braided end to a table, wrap the bracelet around your wrist, and tie the other end to it with a square knot. If the bracelet has a loop, push the knotted end through the loop and tie it.
How do you make a friendship bracelet adjustable?
Lay the two ends side by side and tie a few square knots around both with a separate piece of embroidery floss (six-strand). Keep the ends loose enough to slide, then check that the opening moves before trimming.
How long should the braids be at the ends?
Braid the loose strings for 5-8 cm, then secure each braid with an overhand knot. Leave enough length to tie the bracelet comfortably around your wrist before trimming.
How much string should you leave after a knot?
Trim the extra string but leave a few millimetres beyond each knot. That small tail helps keep the knot secure. Check that it holds with a gentle pull before wearing the bracelet.